


Before you start
CrewPulse has three apps, each for a different job:
- Management app — used by owners and managers on a computer to set everything up.
- Track app — installed on your workers' mobile phones so they can clock in and out.
- Kiosk app — installed on a tablet at the workshop or site entrance for shared clock-ins.
You'll set them all up from the Management app. No technical knowledge needed — just follow the steps below.
Step 1
Create your CrewPulse account
Start by creating the account in the Management app. This is where you’ll set up templates, users, sites, kiosks, and projects.
- Go to www.crew-pulse.com.
- Click Sign up and create your account.
- After signup, you’ll land in the Management app — keep this tab open while you work through the guide.
Step 2
Install the apps
All three apps run in a web browser and can be installed on a phone, tablet, or computer's home screen. This is called a Progressive Web App — an app you install straight from a website, no app store needed.
Which app goes on which device?
Track app
Install on each worker's mobile phone.
Kiosk app
Install on a tablet at the workshop floor or entrance.
Management app
Best used in a desktop browser. Can also be installed as an app.
How to install
- On the target device, open www.crew-pulse.com and tap Login (top right, or in the menu on mobile).
- Choose the app you want to install — Track on a phone, Kiosk on a tablet.
- Follow the install steps for your device below.
On an iPhone using Safari:

- 1 Tap the Share button in the bottom toolbar.
- 2 Tap More in the list of actions.
- 3 Select Add to Home Screen.
- 4 Tap Add in the top-right corner to confirm.
On an Android phone or tablet using Chrome:

- 1 Tap the three-dot menu in the top-right of Chrome.
- 2 Select Add to Home Screen.
- 3 Tap Install to confirm.
On a laptop or desktop computer:

- 1 Look for the small Install icon on the right side of the browser's address bar.
- 2 Click the icon and follow the prompt to install CrewPulse.
On a Lenovo tablet running the default browser:

- 1 Tap the hamburger menu (three horizontal lines) in the top-right.
- 2 Select Add to Phone.
- 3 Tap Install to confirm.
Step 3
Set up work templates
Work templates tell CrewPulse how to track your team's time — what counts as normal hours, when breaks happen, and when overtime kicks in. Set these up first so they can be applied to users later.
Two types of template
Fixed
Tracks total time without any breaks. Best for roles where break time isn't deducted.
Shift-based
Has set breaks, standard hours, and overtime rules. Breaks are automatically excluded, and any time outside standard hours is counted as overtime.
Day rules
Each template has one or more day rules, which decide how work sessions are handled on specific days. For example, you might apply one rule to weekdays and a different rule (or no rule at all) to weekends.

Auto Stop
The Auto Stop setting decides what happens at the end of the scheduled workday:
- Enabled: Active sessions are stopped automatically when the scheduled day ends.
- Disabled: Sessions keep running and accumulate overtime until the user clocks out manually.
Step 4
Add users
Users are the people who will use CrewPulse — owners, project managers, and workers. What each person can see and do depends on the permissions you give them.
Permissions
Every user gets one core permission, and you can optionally add advanced permissions on top.
| Permission | What it does |
|---|---|
| Core permissions | |
| Owner | Full access to everything — settings, users, configuration, and all cost data (labour rates, payroll, attendance, insights). |
| Project Manager | Manages projects, jobs, sites, and teams — same navigation as an Owner, but without the payroll tab. Can't see costs or create/remove Owner users. |
| Worker | Access to the Track and Kiosk apps only, for tracking their own work. No access to the Management app. |
| Advanced permissions (optional add-ons) | |
| Payroll | Access to Users, Payroll, and Attendance tabs with full cost visibility. No access to projects, jobs, sites, resources, configuration, or insights. |
| Setup | Can configure jobs, projects, users, resources, sites, kiosks, and work templates. No cost visibility. |
| Supervisor | Team leader in the Track app — can track activity on behalf of other users. Does not grant Management app access on its own. |
User groups
User groups help you organise your workforce. The best approach is usually to group people by role or team — for example, "Welding", "Electrical", or "Off-Site". Groups make it easy to filter reports and enable more detailed labour tracking through tags.
Tags
Tags are optional labels attached to a user group — for example, a "Welding" group
with a welding tag.
When a member of that group records a work session, the tag is saved with it. This
makes it easy to report on time spent per activity — for example, total welding hours
on a project.
Set up biometrics
CrewPulse supports facial recognition for logging in at the Kiosk. To use it, upload three clear photos of each worker. A modern smartphone camera works well.
Uploading the photos
- In the Management app, go to Users and click Edit next to the relevant person.
- Click Add Biometrics in the top-right.
- Capture three photos per person — one facing forward, one at 45° to the right, and one at 45° to the left.
For the best results
- The person should be standing fully inside the frame.
- Use a plain wall as the background to reduce clutter.
- Only one person should appear in each photo.
- Lighting should come from the front — avoid strong backlighting or glare.


Step 5
Set up sites
Sites let you see where your team is and where work is happening. You can add them as rows in a table or drop pins on a map.
Each site needs three things
- A site name (e.g. "Main Workshop" or "Cape Town Install").
- Its coordinates (a location on the map).
- A required proximity, in meters — how close someone needs to be to count as on-site.

Work templates at a site
Site work is often flexible, so you have three choices for how work templates apply:
Ignore work templates
Sessions aren't stopped automatically and no break rules apply. Useful for ad-hoc or flexible site work.
User's own template
Falls back to whatever template is already assigned to the user.
A specific template
Link a dedicated template to the site to enforce its own hours, breaks, and overtime.
Site jobs
Jobs that only happen at a specific location can be linked to one or more sites on the Site Jobs tab. When a job is linked to a site, workers can only log time against it when they're clocked in and physically at that site. A single job can be linked to multiple sites.
Step 6
Set up resources
Resources are the physical things your team uses on projects. CrewPulse supports two types: vehicles and equipment.
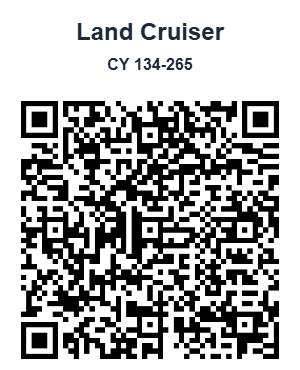
Adding a resource
Each resource can include a short description — and that description appears on the resource's QR code. For vehicles, including the registration number in the description makes it easy to identify in the field.
Step 7
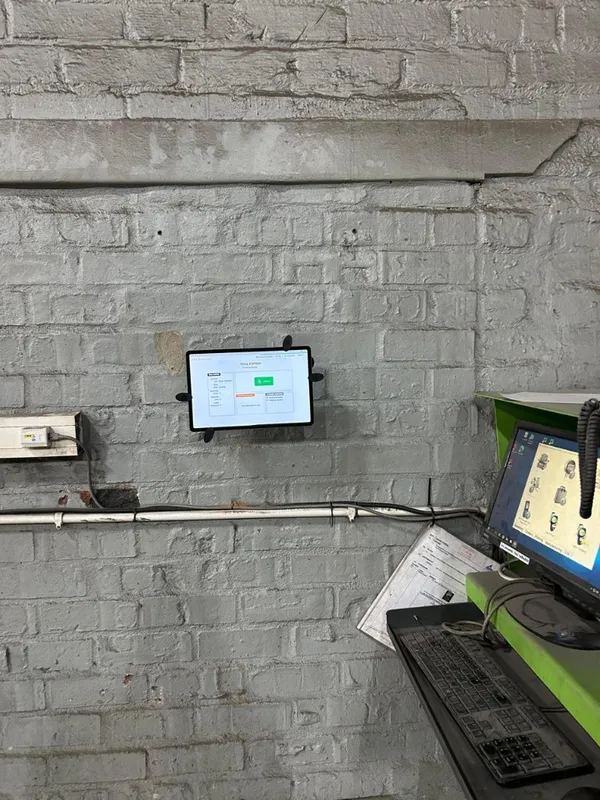
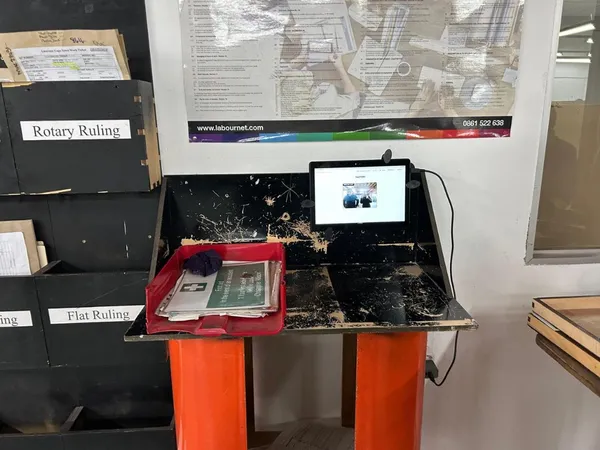
Set up a kiosk station
Once the Kiosk app is installed on your tablet, you'll log in with a kiosk code and password, then configure a few settings — display name, site, tracking methods, logout time, and more. You can run multiple kiosks from one CrewPulse account.
Kiosks are where workers who don't carry a phone clock in and log labour against jobs.
What you’ll configure on each kiosk
- Display name (what workers see on screen)
- Password (used when signing the tablet in)
- Site (optional link to a physical location)
- Tracking methods (touch, QR codes, and/or facial biometrics)
- Logout time (auto-timeout after inactivity)
- Linked resources (optional: restrict which resources appear)
- Attendance kiosk (optional: allow clock-in even without job assignments)

Step 8
Create projects and jobs
Projects group related work together. Jobs are the individual tasks inside a project, and workers clock their time against specific jobs. This is how CrewPulse gives you labour insights per job, per project, per user, or per site.
You can build projects from scratch, copy the structure from a previous project, or bulk-upload jobs from an Excel template or folder of files.
Read the full projects-and-jobs walkthroughStep 9
Need help?
If anything is unclear or you'd like a hand during setup, our team is here to help. Pick whichever of these works best for you: